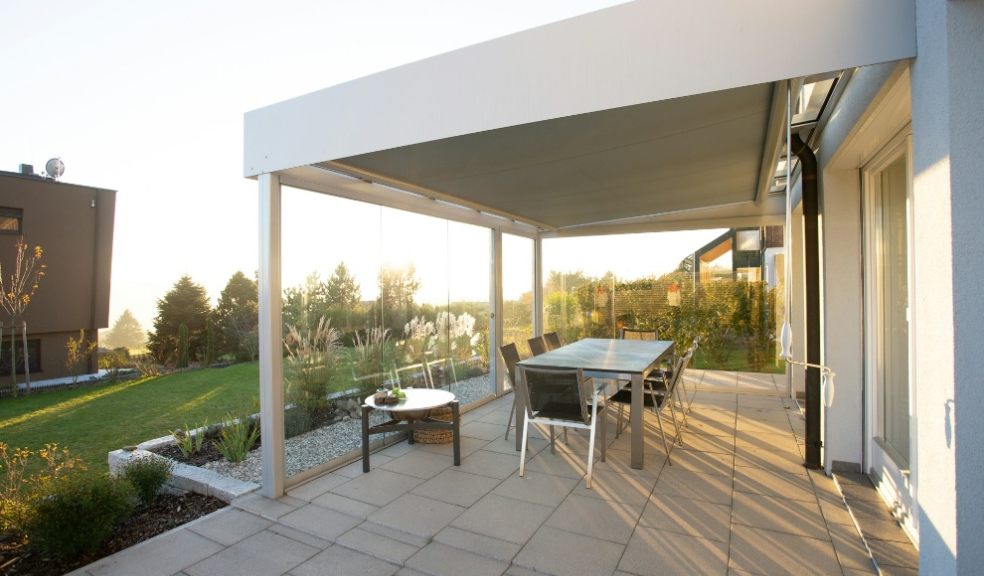
Building your own patio: A step-by-step guide
Having a patio in your garden is both a design enhancement and a practical addition. It provides the perfect setting for relaxing and entertaining guests. Many homeowners decide to build their own patio as a DIY project and a way to save some cash. If you are looking to do the same, here is a step-by-step guide on how to get started.
Step 1: Design and planning
Before you begin, it's important to plan the layout and size of your patio. Consider how you intend to use the space - whether for dining, lounging, or as a play area for children. Choose a location that balances sun and shade and offers some privacy. Once you have a rough idea, use a string to mark out the area on the ground. This will give you a visual idea of the space and help in adjusting the design as needed.
Step 2: Choosing materials
Selecting the right materials is crucial for both the look and longevity of your patio. Paving stones, bricks, or concrete slabs are popular choices, each offering different aesthetics and levels of durability. Consider the style of your home and garden when making this decision. Additionally, you’ll need to purchase sand and hardcore for the base.
Step 3: Preparing the site
Once your design is finalised and materials are chosen, the next step is preparing the site. This involves clearing any plants and stones from the area. If there is an existing concrete slab where you plan to build, this is where a local concrete breaker hire can be useful, as you don’t want to buy new tools that you are unlikely to use again. It’s an effective way to get rid of old concrete efficiently.
Step 4: Laying the foundation
A solid foundation is key to preventing your patio from shifting or cracking over time. Dig down about 150mm for your foundation layer. Fill this with a layer of hardcore, which should then be compacted down. On top of the hardcore, add a layer of building sand, about 50mm thick, and level it carefully too.
Step 5: Laying the paving
Start laying your chosen paving material from one corner, keeping a close eye on the alignment and spacing. Use rubber tools to gently tap each piece into place. Take your time, as you want to make the slabs as level as possible. Don’t forget to leave a slight slope away from the house to allow for drainage.
Step 6: Finishing touches
Once all the slabs are laid, fill the gaps between them with a mix of sand and cement or a specialised jointing compound. This will lock the patio in place and prevent weeds from growing through the gaps. Lastly, sweep the surface clean and hose it down to settle everything.
Step 7: Decoration and furniture
Now that your patio is ready, it’s time to decorate it! Add outdoor furniture, potted plants, and perhaps some outdoor lighting to create an inviting atmosphere. Of course, choose furniture that complements the interior of your home and fits comfortably within the space.
Here you have it! Building your own patio is a project that requires a bit of time and research, however, the results can be very rewarding.


