


5 Common Mistakes When Applying Builder Gel
Two critical mistakes can deal a massive blow to your manicure goals - using substandard cosmetic products or applying high-quality products the wrong way. In the case of builder gels, most people are guilty of the latter.
Fortunately, you don’t have to be a professional manicurist to apply builder gel correctly. We’ve rounded up the five most common builder gel manicure mistakes and how to avoid them.
What Is Builder Gel?
Gel polish, commonly known simply as gel, is a thin layer of polish applied on the nails to help strengthen them and encourage their growth. Most gels can also add a touch of color and radiance to your nails, allowing them to stand out.
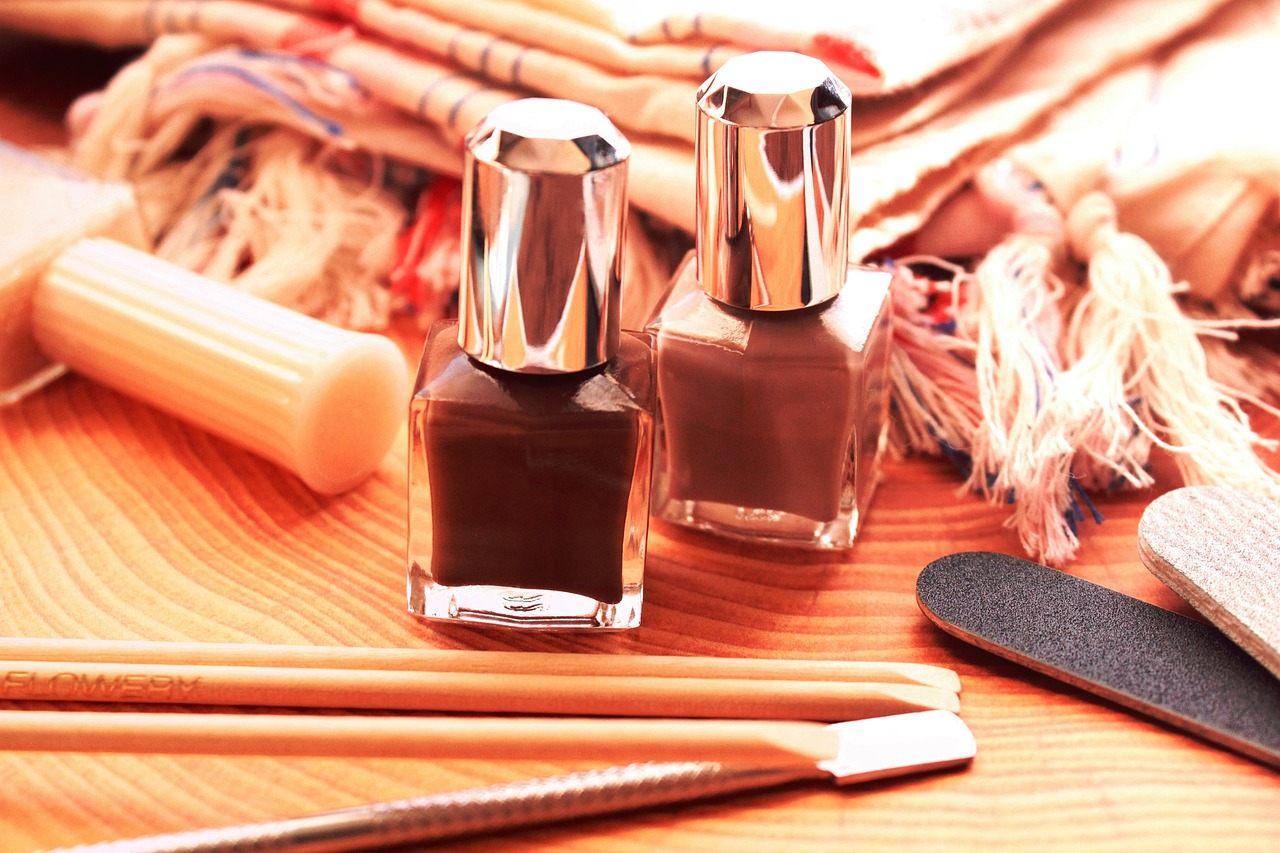
Gel polishes come in different quantities and consistencies.
Builder gel is a type of gel polish that is considerably thicker than regular gels.
Thanks to its extra thickness, builder gel can enhance the strength and durability of your nails far more than normal gels.
Builder gel is effective for both natural nails and nail extensions. The gel is remarkably easy to apply and remove, making it a go-to beauty product by manicure enthusiasts.
5 Rookie Mistakes When Applying Builder Gel
1. Not Prepping Your Nails Adequately
Many beginners misunderstand prepping as only critical for acrylics and dip manicures. Some dismiss this step altogether as simply too tedious.
However, prepping is the foundation of all make-up procedures. In the case of gel manicure, prepping helps establish a strong foundation for the gel to firmly latch onto the nails. It also enhances the polish’s aesthetic appeal and durability.
The best way to prep your nails for builder gel application is to buff the shiny surface off. Using a nail file, gently rough up the glossy surface to create a solid foundation for your builder gel.
You may also consider exfoliating the nail skin to remove excess sebum and dead skin cells. Again, the idea is to allow your builder gel to latch firmly onto the nails and improve its longevity.
2. Applying Thick Layers
As builder gel is typically thicker than regular gel polishes, most newbies intuitively apply thicker layers of the product. Another grave manicure mistake to avoid!
Since builder gel is already thick enough, thinner layers would produce the same effects as normal gels.
Experts recommend dripping enough liquid onto your manicure brush for each nail, then applying the gel from the cuticle towards the nail tip. Keep your eyes out for air bubbles or uneven surfaces, indicating a thick gel base.
Moreover, it’s prudent to apply two coats of builder gel but keep each layer relatively thin. The first coat, the base layer, should be thinner and more even than the outer coat.
However, there are instances where you may require up to three layers of builder gel, such as if you’re creating 3D nail art.
3. Wrong Curing Time and Device
Once you’ve applied builder gel evenly on all nails, it’s time for some curing. Proper curing improves the strength and longevity of nail polishes.
First, find a suitable curing device. An LED or UV lamp is the most recommended builder gel curing device.
Do not cure a builder gel under the sun or over regular kitchen heat sources. More importantly, insist on a high-quality LED or UV lamp.
It’s also prudent to cure each nail at a time. As with most manicure procedures, patience is a virtue.
Last but not least, each nail requires around 60 seconds of curing. If you apply three layers, you can aim for 10 seconds more.
4. Curing Before Cleaning
When applying builder gel, it’s likely that the liquid will flood your cuticle area. It’s important to clean it right after you’re done with the application process.
Note that builder gel is different from regular nail polish. Due to its superior consistency, the liquid can be remarkably difficult to clean once it dries up.
It’s only worse if you go ahead and cure the gel that’s flooded on your cuticle. You can only imagine the blemish this could cause your otherwise radiant nails.
The conventional wisdom is to clean the builder gel for about half a minute between fingers. That means applying builder gel, cleaning, and curing one nail at a time.
5. Exposing Your Nails to Water
Having applied the most durable gel polish, it’s perfectly okay to soak your nails in water, right? Well, wrong.
Drinking plenty of water undoubtedly provides numerous health benefits. In fact, adequate water intake is essential for healthy nail growth and development.
However, soaking your gel-treated nails in water with careless abandon will likely produce the contrary effects. So, after getting a builder gel manicure, it’s best to avoid exposing your nails to water as much as possible.
Nails can absorb water up to three times their weight. This can cause them to expand and shrink in size alternately, impacting the aesthetics and durability of your gel polish.

Final Word
Avoiding the above mistakes can help strengthen and nurture your nails. Remember, the efficacy of gel manicures also depends on product quality.
One way to gauge the quality of builder gel is to check its consistency. Premium builder gels feature a thicker and richer consistency than regular gels.
Moreover, research the potential ingredients in builder gel before applying the product. Prioritize gels formulated with valuable compounds, such as acrylates copolymer, butyl acetate, isopropyl alcohol, and dimethicone.
Gallery