Five easy light painting techniques you can try today
Light painting is a creative technique in digital photography that incorporates light as an artistic medium to create magical and captivating effects. Moving light is combined with the long exposure settings of the digital camera to achieve an illustrative effect of light streaks and flashes across the image. Since all this is set up during the shooting stage, light painting offers infinite creative potential for photographers to create remarkable pieces.
How Does Light Painting in Photography Work?
Light painting is easy. All it takes is a light source and a steady SLR camera with manual adjustments for exposure. A tripod and a remote shutter release will help in minimizing movements since you will be working with long exposure settings. As for the camera settings, you will need to switch to the manual mode with manual focus and set the exposure to a minimum of 30 seconds. You can also shift to bulb mode if you need to work with a longer exposure time.
Any stationary objects will remain clear and sharp, but any movement will be captured in a blur. Therefore, the light will be recorded as it moves in any pattern you create within the set duration. Set the aperture or F-stop to 8 or 10, and the ISO to 100. You will need to work in a dark room or find a great outdoor scene where you can begin your shoot at least 15 minutes before dark.
Since light painting is captured under low lighting, the long exposure allows the bright light in the foreground to appear vibrant and with higher saturation. The visual result? Breathtaking! You will get a different result every single time you experiment with light painting. This level of uniqueness is exceptional and cannot simply be reproduced in postproduction.
Once you’re all set up, open the shutter, introduce your foreground light, and paint away!
5 Beginner Light Painting Techniques
Observing the works of some of the greatest light painters like Michael Bosanko and Jan Leonardo, you can draw inspiration for your own artistic light painting works. You will proudly showcase your photos with proper picture lighting around the contemporary frame, for example.
So let's review the a few techniques to get you started. You are sure to get them right on the first day.
- Light Painting Textures with Flashlights
You can work with flashlights to highlight texture and details in a scene. It allows you to draw into the focus of the foreground, subjects that would have otherwise been in the background. Experiment with different colours and colour temperatures, using filters or just switching from a warm to cool colour temperature.

A small flashlight such as the phone flashlight will suffice if the object is closer, but to light paint a distant object, you might need a larger and more powerful flashlight. To highlight texture, keep the flashlight close and trace the object's edges or sweep across its surfaces with the light.
There are no limits when it comes to light painting. Different light sources will give you different effects. Lasers, flashlights, glow sticks, LED strip lights, fairy lights, and even candles will each generate varied outcomes that you need to try out.
- Light Painting for Multiple Exposures

If you have experience using speedlights, you can create multiple exposure images with ease and have an individual or item appear in multiple locations in the photograph. To do this, you can auto-sync your speedlights to trigger concurrently in different points of your frame, illuminating the same subject a number of times in different positions.
- Light Painting Photography with Ambient Light
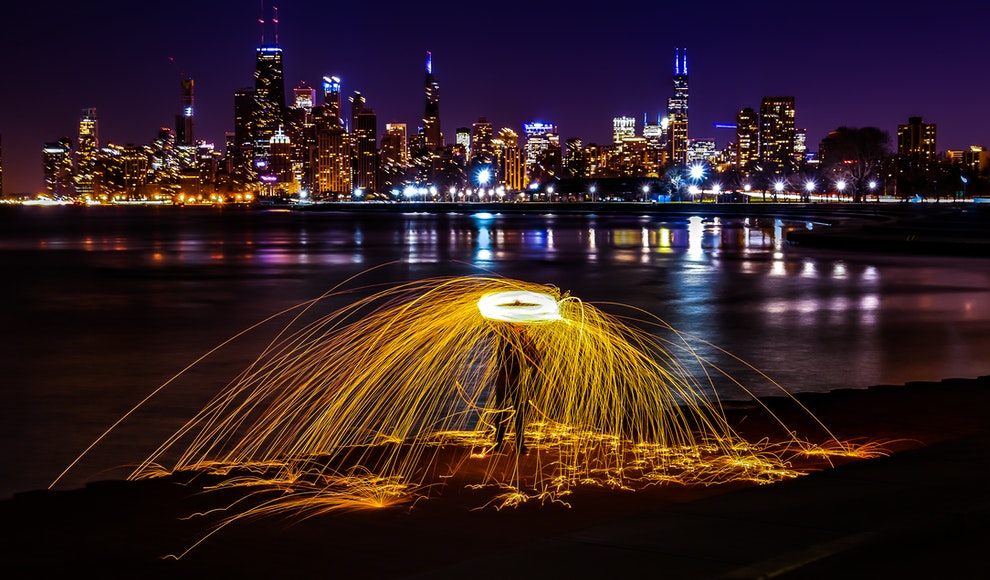
When light painting with ambient light, selecting a suitable scene is key. Working with a location that is illuminated indirectly with ambient light and with fire and water as the perfect subjects for reflecting the light, you can set your exposure to the dimmest spot on the background. This will allow the ambient light sources to lighten other parts of your photo in a beautiful natural light paint effect. A lit bridge or waterfall are excellent locations for this.
- Drawing with Light
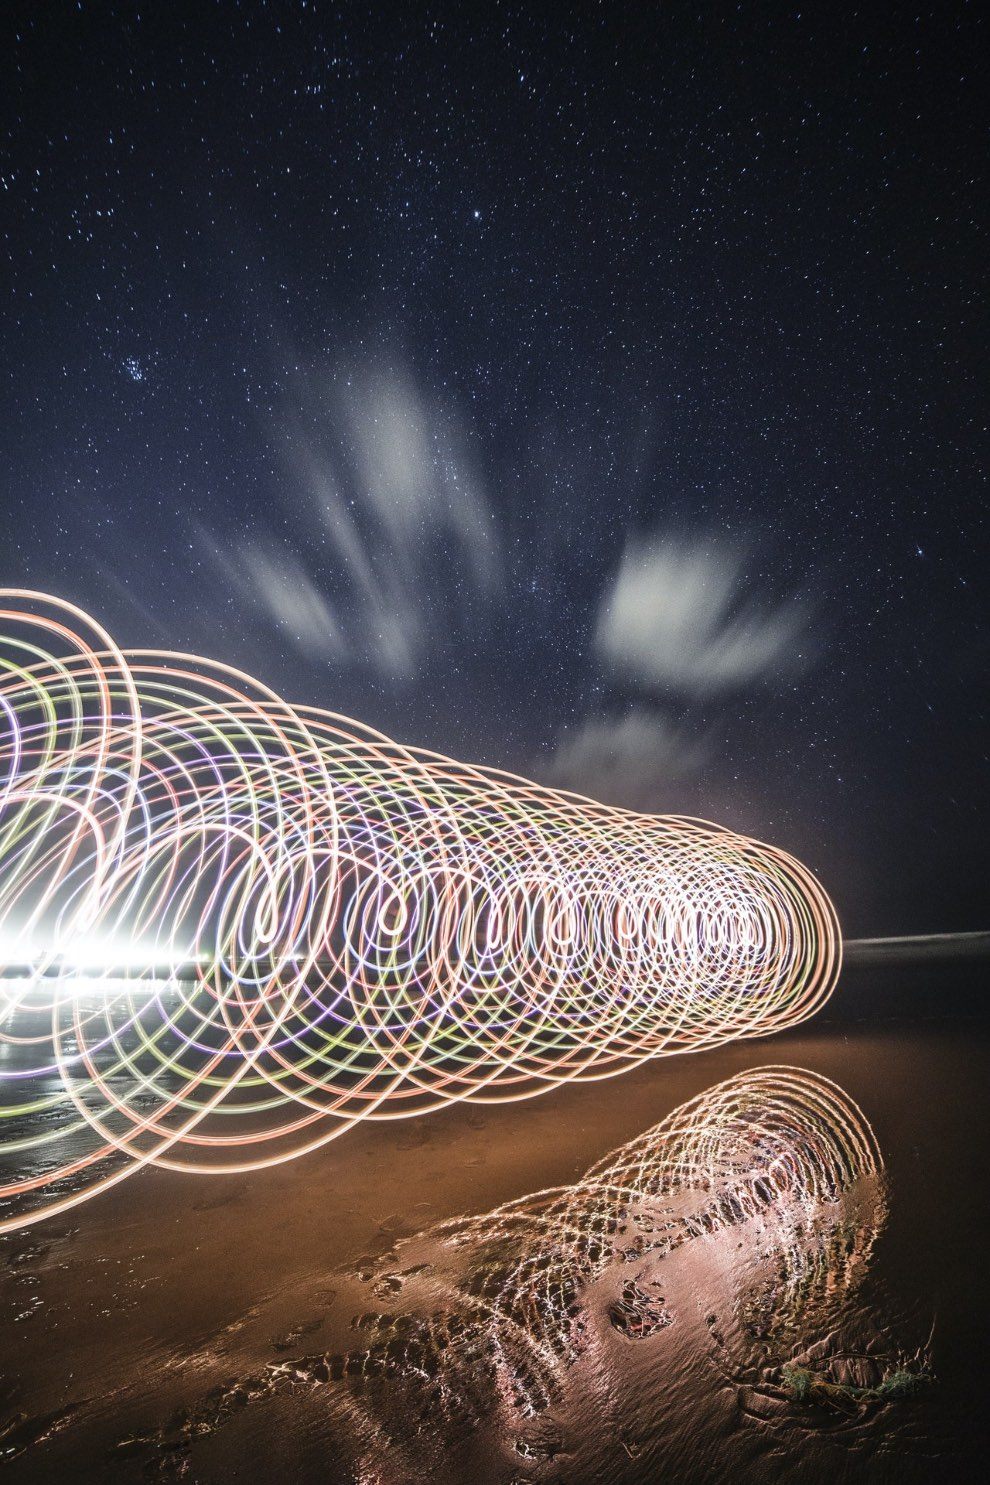
As the name suggests, this popular light painting technique involves creating actual drawings with a narrow light source such as a sparkle stick. Set the camera exposure for the unlit background, then shine the light straight at the camera. You can sketch images, write words, outline an object, or create random abstract patterns with the light.
- Painting with Light Trails in Photography
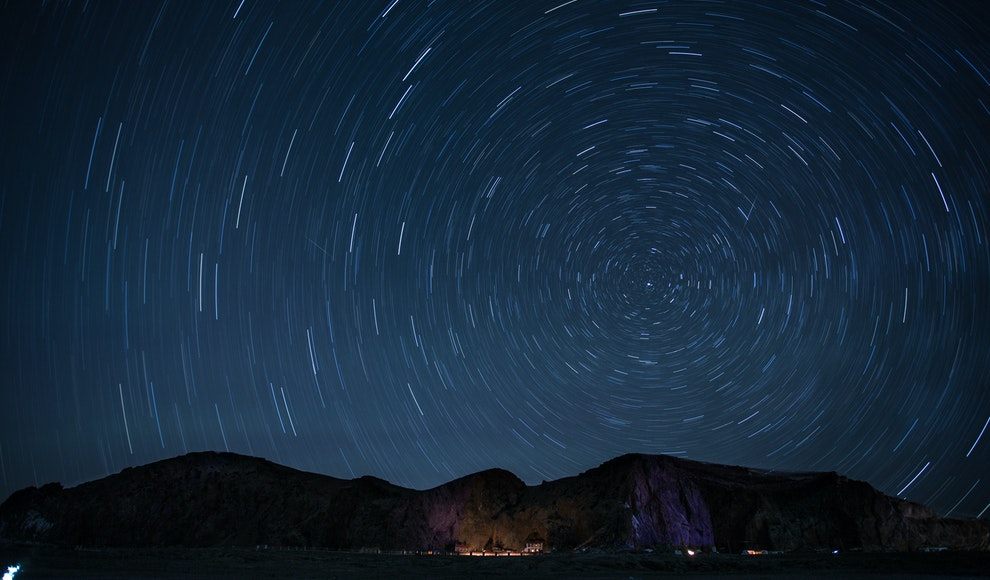
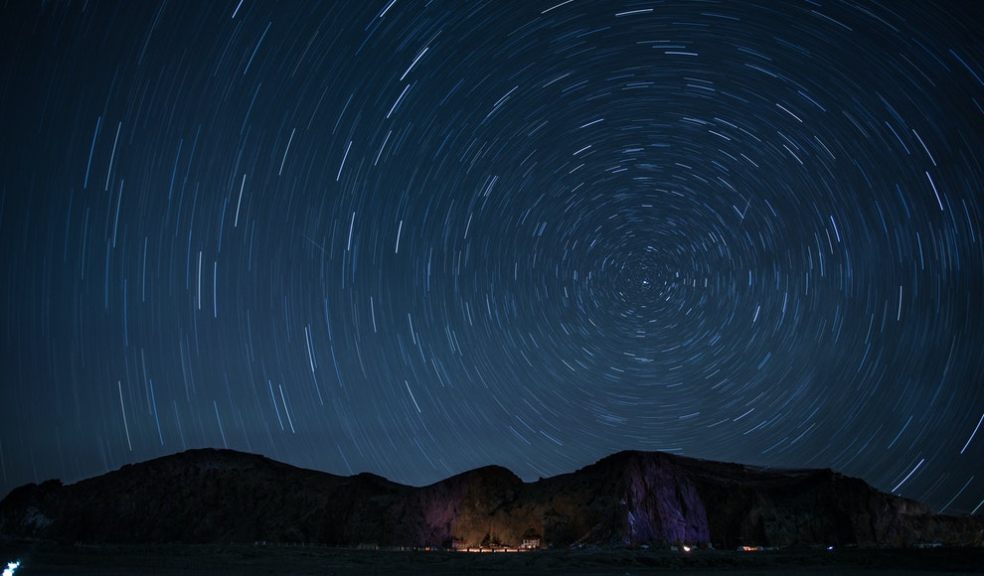
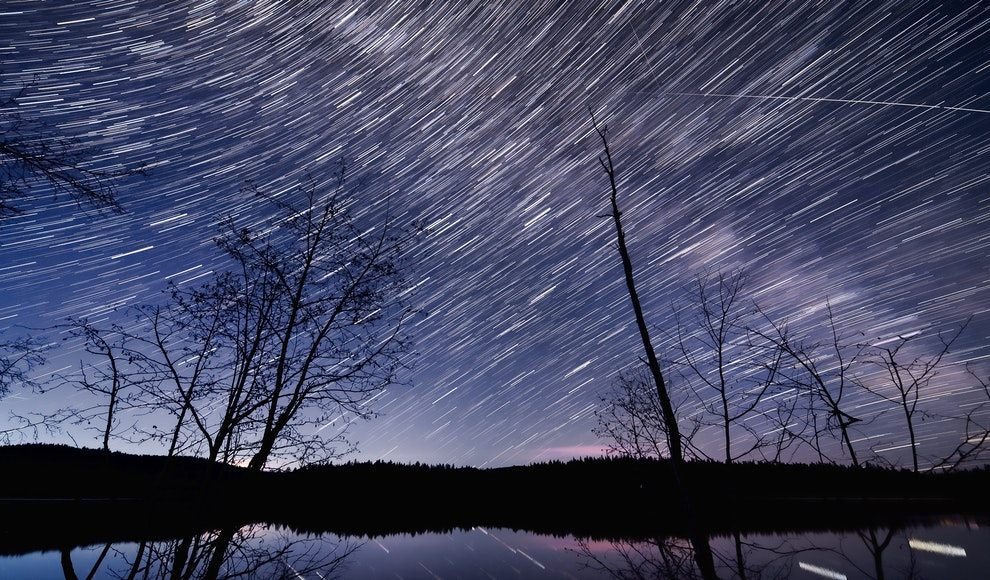
Getting the perfect shot of a starry night is one thing, having it light painted is just out of this world. Since stars rotate along the same path every day, you can capture their slow movement by setting your camera to over 30 minutes of exposure time. The longer you stay, the more striking the trails will appear. It’s science! The result will look like a contemporary recreation of Van Gogh’s Starry Night masterpiece.
Combine Different Light Painting Photography Techniques
Once you master each of these light techniques, you can easily incorporate a number of them into a single frame for the perfect shot. From a range of light sources to different surface textures, movement speeds, camera settings, darkness levels, you can create a new dimension to artistry that is simply surreal.
You can also highlight your pictures with the help of Perfect Picture Lights.


